



The complete guide
How to Choose and Install a Wall Mounted Wine Bottle Rack
The problem with storing wine on a counter
Bottles are awkward objects. They are tall, round, and they roll. Stand six of them on a kitchen counter and you lose a usable chunk of workspace. Lay them in a cupboard and you cannot see what you have, so the same two bottles get opened over and over while something good hides at the back.
Floor-standing racks solve part of this and create a new problem. They take up floor area in rooms that rarely have any to spare, and they collect dust underneath. Countertop racks just move the pile-up sideways.
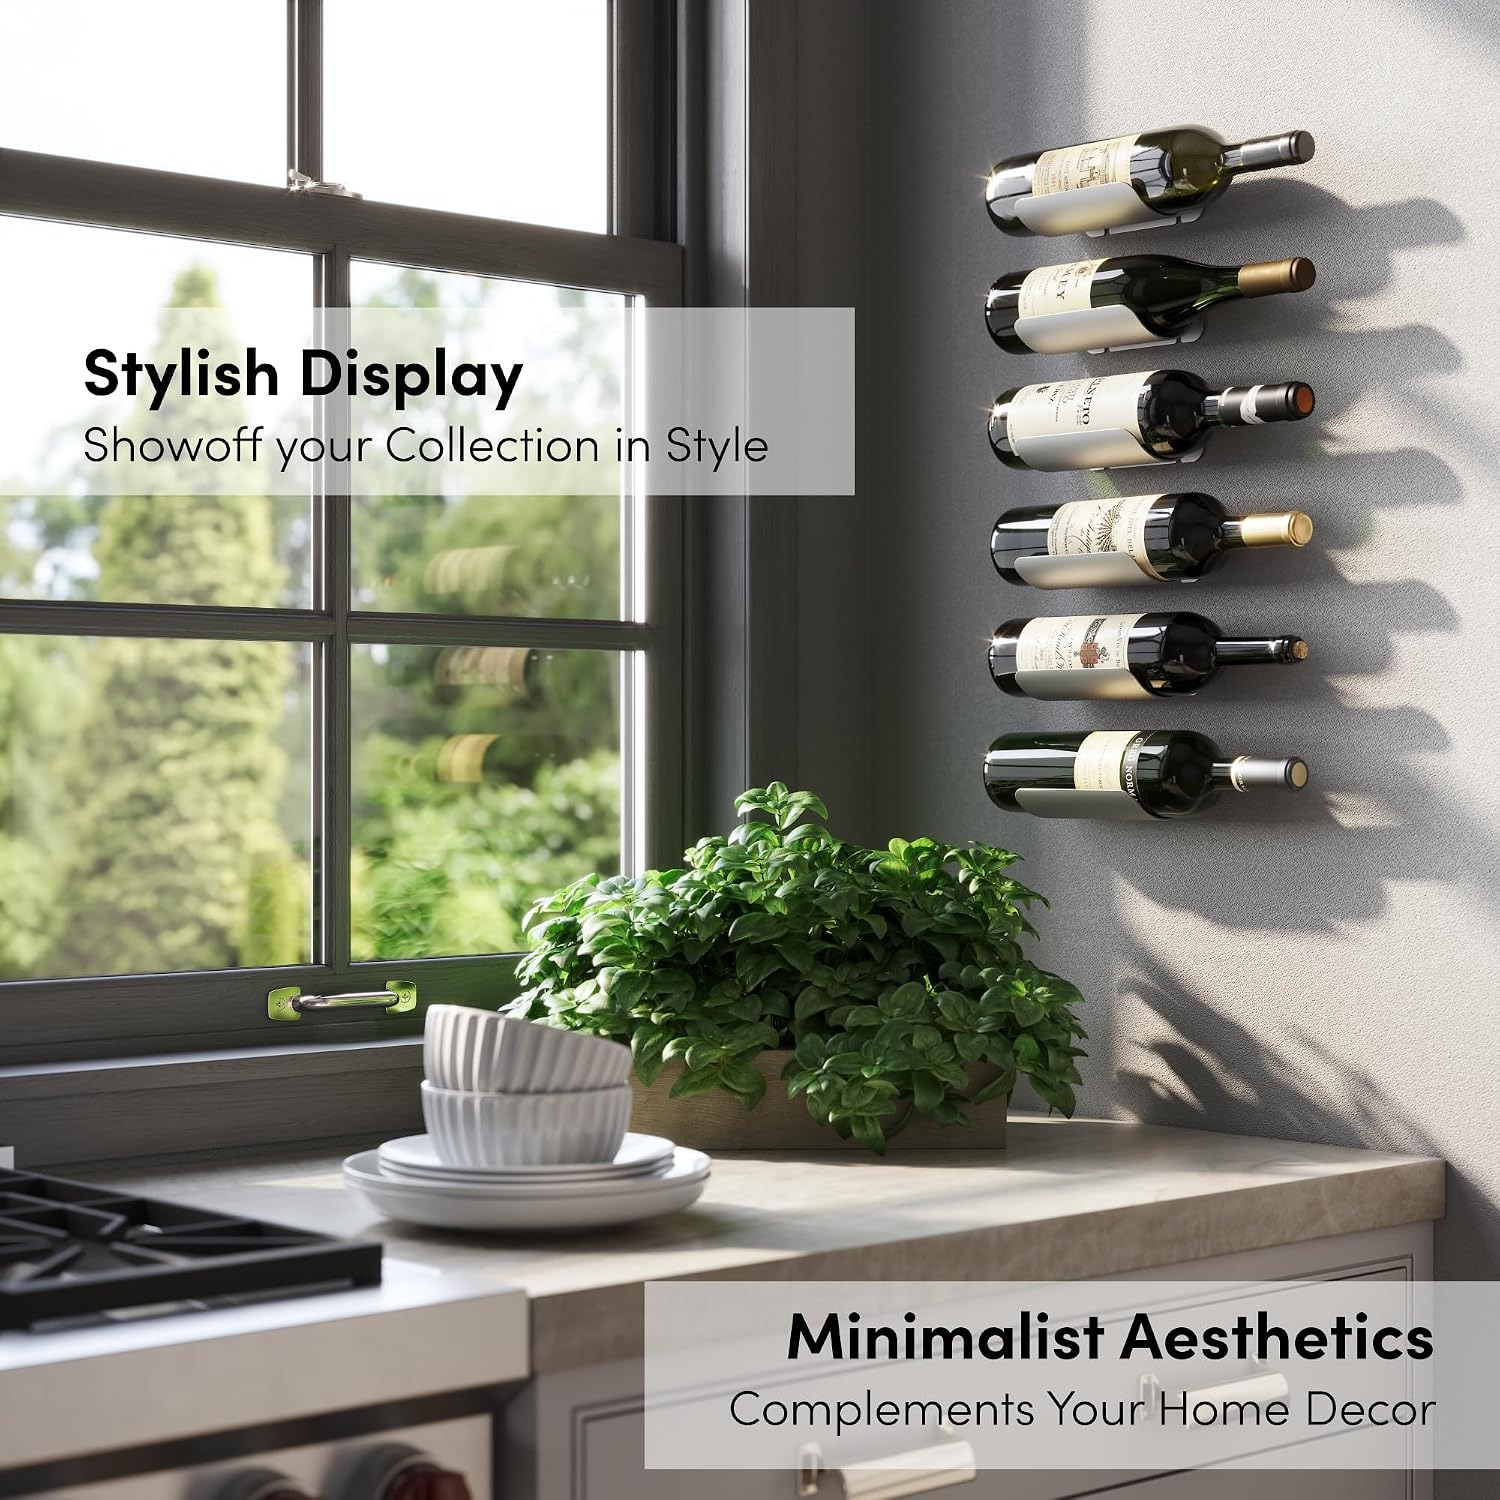
Wall mounting sidesteps both. The wall above a sideboard, the strip beside a fridge, the panel at the end of a run of cabinets: these surfaces are usually blank. Put the bottles there and you get your counter back, you can see your collection at a glance, and the bottles themselves become part of the room rather than clutter in it.
How this rack works
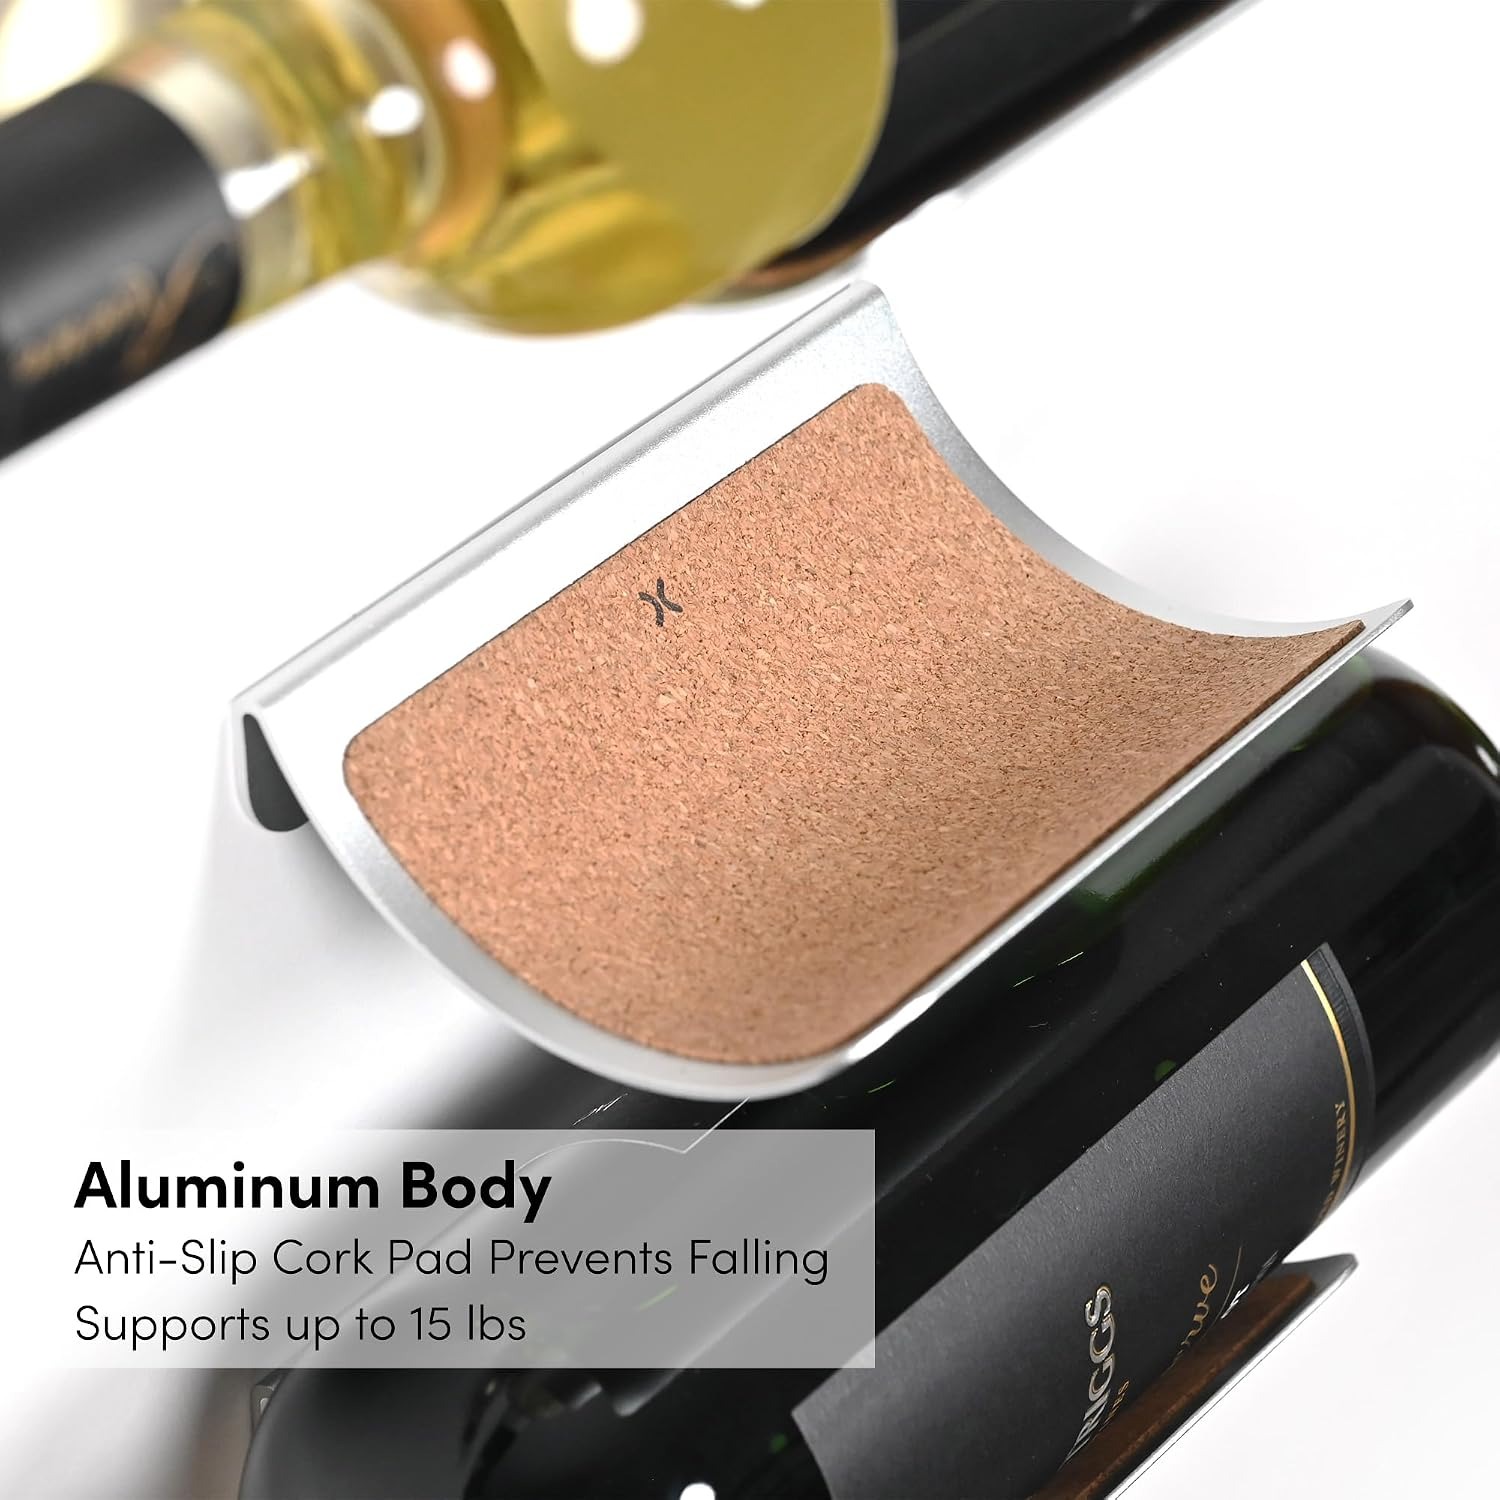
Each piece in this set is a small semicircular aluminum cradle that fixes to the wall. The neck of the bottle drops into the curve and the body sits out horizontally, label facing the room. The bottle is held by a combination of the cradle shape and its own weight pressing down into the curve.
Inside each cradle is cork padding. Cork is a sensible choice for a wine bottle holder because it grips glass without being sticky, it has some give so it accommodates slight differences in neck diameter, and it stops metal rubbing directly on the bottle. The non-slip surface is the part that stops a bottle creeping out of position when someone closes a drawer hard nearby.
The metal is aluminum with an anodised finish. Aluminum keeps the weight down, which is why each piece is listed at 68 grams. Anodising hardens the surface so it handles the everyday contact of hands and bottles better than untreated metal. The listed color is silver, with a quiet, even sheen rather than a mirror shine.
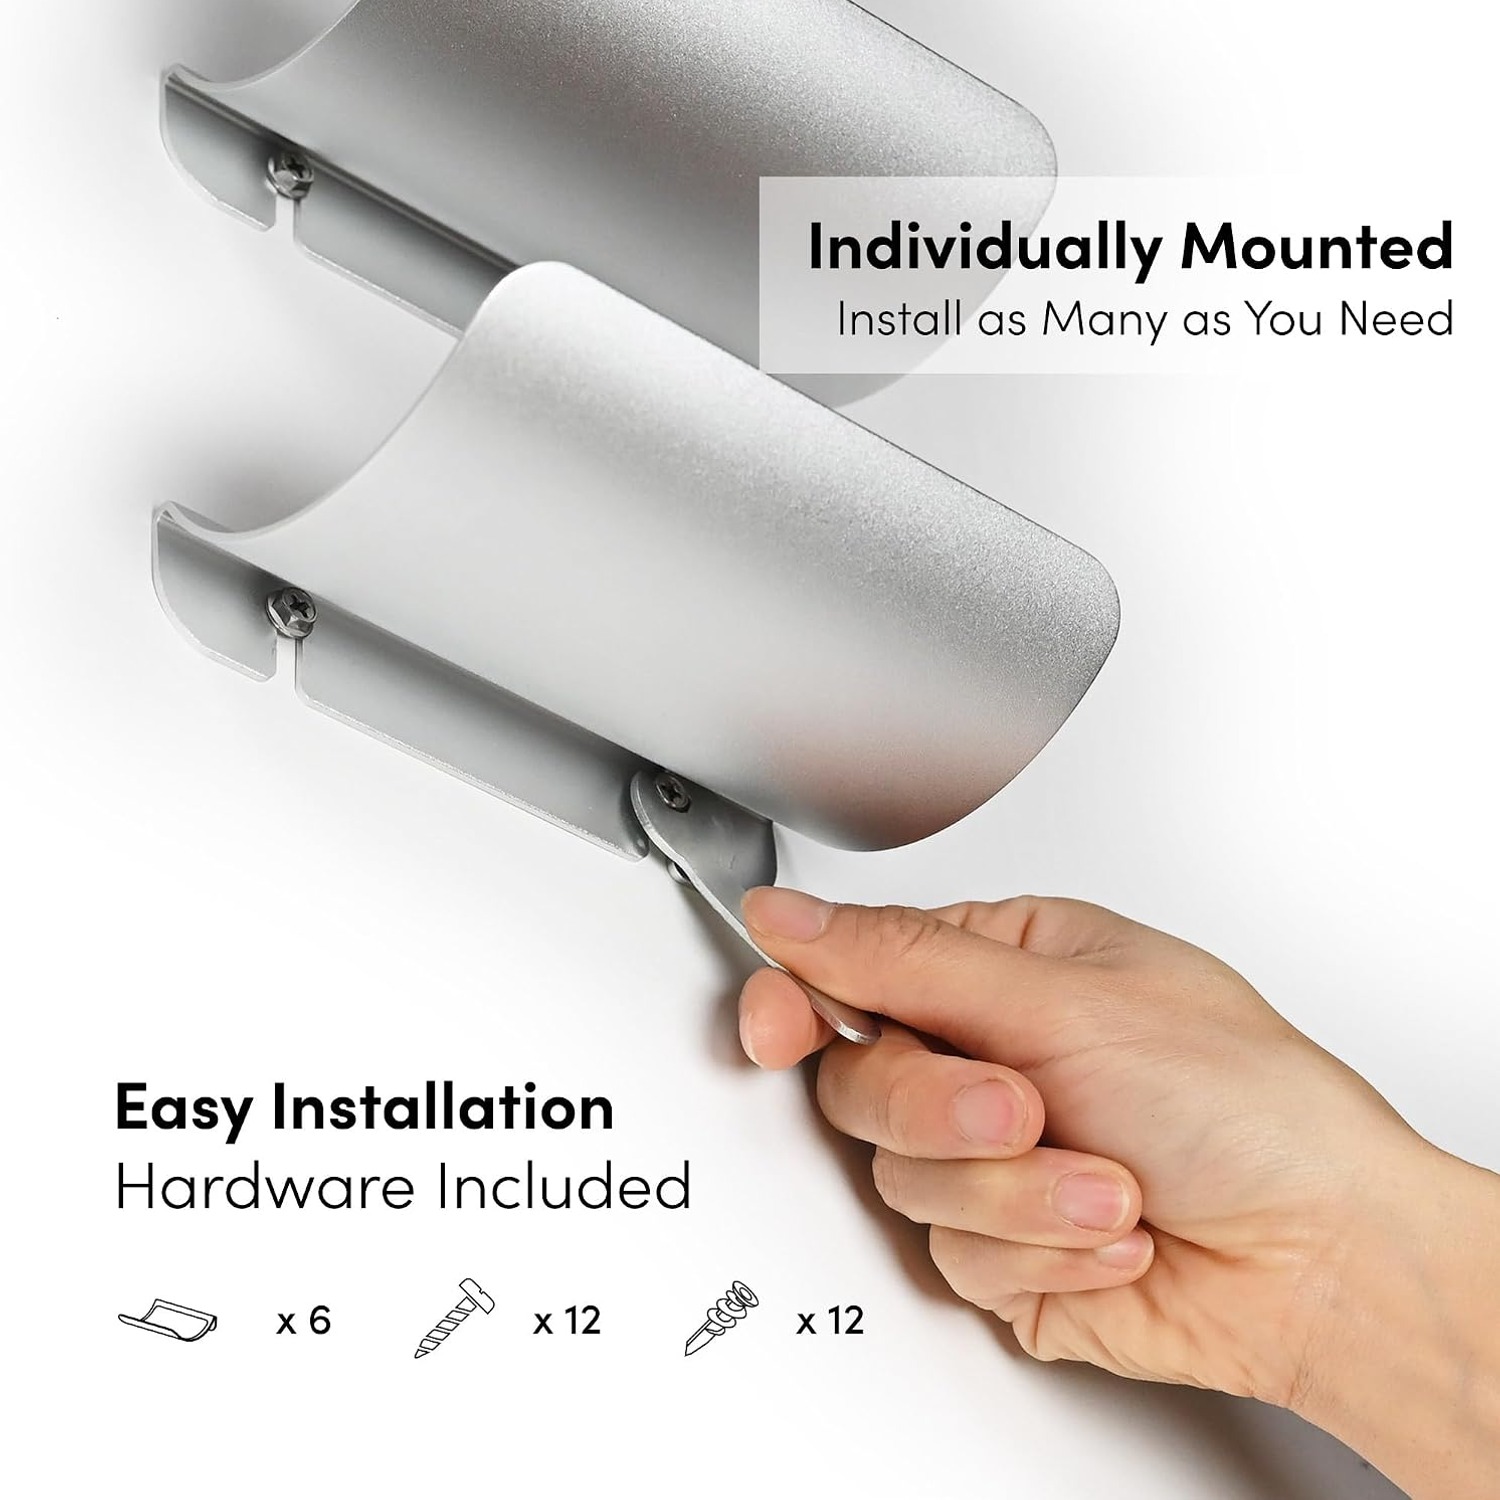
The important design decision is that the six cradles are separate. There is no frame linking them. You decide where each one goes.
Who it suits
Renters and small-space dwellers get the most out of this. Six small fixings are far easier to place and repair than a bolted-on frame, and a modern wine storage solution that takes zero floor area matters more when the kitchen is three meters wide.
It also suits people who like a visible collection. If you buy a few interesting bottles at a time and drink them within months rather than cellaring for a decade, open wall display is a good fit. You see what you have, which means you actually drink it rather than forgetting it.
Home bar builders use this style of rack as part of a wall arrangement, mixing bottle cradles with glass shelving and hanging stemware. Because the pieces mount individually, you can work around a light switch, a power point or a window frame instead of giving up on the wall entirely.
It is less suited to serious long-term cellaring. Open walls in a living area are warmer and brighter than a proper cellar, and light is not kind to wine over years. For bottles you plan to keep for a decade, use a cool, dark cupboard and use the wall for the drinking stock.
Choosing your layout
Before you pick up a drill, work out what you actually want to see.
A single straight row is the safest choice and usually the most elegant. It reads as a deliberate line and it suits the space above a sideboard, a console table or a counter. Keep the row at roughly eye level when standing, which puts the bottles in view without putting them in the way of your head when you lean in.
A staggered pattern is more relaxed and works well on a larger blank wall. Two rows of three, offset, fills more area and looks less rigid. It needs a bit more measuring to avoid looking accidental.
A vertical column suits narrow walls, such as the strip between a fridge and a pantry door. Leave generous vertical spacing so bottles are not stacked on each other, and remember you will be reaching up for the top one.
Split arrangements are worth considering too. Three in the kitchen for everyday bottles, three in the dining room for the ones you bring out with guests. Nothing says the set has to live in one place.
Getting the spacing right
The most common mistake is placing the cradles too close together. Bottle bodies are wider than bottle necks, and your hand needs room to get around one to lift it out.
Take the widest bottle you own and measure across the body. Add a few centimeters for knuckles. That is your minimum center-to-center spacing. For most standard bottles, somewhere between 12 and 15 cm works comfortably in a horizontal row.
Also think about depth. Each cradle is listed at 9.1 cm deep, but the bottle projects well beyond that. Make sure the mounted bottles will not clash with a cupboard door swinging open, a chair back, or a walkway where people pass.
Installing it properly
Each piece is light, but a full bottle of wine is not. Around 1.2 to 1.3 kilograms is typical once you include the glass. That load is carried by your wall fixing, not the rack, so the fixing is what deserves your attention.
Drywall anchors, screws and a wrench are included. Anchors are designed for drywall, which covers most interior walls in modern homes. If you can hit a timber stud, do it, because a screw into solid timber beats any anchor. A cheap stud finder pays for itself the first time you use it.
Brick, concrete and tiled walls need masonry plugs and a masonry bit, which are not part of the supplied kit. Buy them to suit your wall before you start rather than halfway through the job.
The method that gives the cleanest result is simple. Cut a strip of paper or masking tape, mark your spacings on it, tape it to the wall and check it with a spirit level. Step back and look at it. Adjust until it reads right from across the room, then drill through your marks. Measure twice is a tired phrase, but holes in drywall are permanent in a way pencil marks are not.
Tighten the fixings firmly but stop when they feel solid. Overtightening into drywall can crush the board and loosen the anchor, which is the opposite of what you want.
Living with it and keeping it clean
Care is straightforward. Wipe the aluminum with a soft damp cloth and dry it. Do not reach for scouring pads, cream cleansers or solvent sprays, because abrasives and harsh chemicals can dull an anodised surface and you cannot polish that back.
Keep the cork padding dry. If something spills, blot it rather than soaking it, and let it air dry fully. Lift bottles out straight rather than dragging them sideways across the cork, which keeps the padding in good shape for longer.
Every few months, give each cradle a gentle push to check it still feels firm. Walls move a little with temperature and humidity, and a fixing that has worked slightly loose is a five-second job to re-tighten and a much bigger job to ignore.
One habit worth building: rotate your stock. Drink from the wall, restock from the cupboard. Bottles sitting in daylight for a year are not improving.
The short version
This is a set of six separate aluminum cradles that hold bottles horizontally against a wall, lined with non-slip cork, finished in anodised silver. Drywall anchors, screws and a wrench are in the box, and you fix each piece yourself.
It earns its place by freeing counter and cabinet space while keeping bottles visible. The independent mounting is the feature that matters most, because it means your wall decides the layout instead of a factory-set frame.
Spend the time on measuring and on the right fixing for your wall type. Do that, and six bottles will sit exactly where you want them, looking like they were always meant to be there.